
A finished basement is one of the best returns on investment a homeowner can make. But the price tag can seem daunting—$20,000, $30,000, or more. The good news? You can finish a basement for significantly less if you're strategic about where to save and where not to cut corners.
The key is understanding the difference between essential work and nice-to-have upgrades. Moisture control, framing, electrical, and permits are non-negotiable. Bathrooms, kitchenettes, premium finishes, and upgrades are where you save. A smart phased approach spreads costs over time and lets you enjoy the space while upgrading gradually.
Phase 1: Budget Basement Finishing ($8,000–$15,000)
Start with the essentials. This phase creates a functional, livable space without expensive extras.
- Moisture assessment and basic waterproofing
- Framing and insulation (standard materials)
- Basic electrical (outlets, lighting, simple design)
- LVP or budget flooring
- Drywall and paint (neutral colors)
- No bathroom or kitchenette
- No HVAC extension (basic dehumidifier instead)
- Standard trim and basic fixtures
10 Smart Money-Saving Strategies
1. Choose Luxury Vinyl Plank (LVP) Flooring
LVP costs $2–$4/sq ft installed versus ceramic tile at $6–$12/sq ft. For a 500 sq ft basement, that's $1,000–$2,000 in savings. LVP looks modern, feels warm, and is water-resistant—perfect for basements. Upgrade to tile later if desired.
2. Skip the Bathroom (For Now)
Adding a bathroom costs $10,000–$20,000+. Phasing it in later saves thousands upfront. Finish the main space, use it for a year, then add bathroom if you still want it.
3. Use Basic Electrical Layout
Recessed lighting, accent lighting, and complex circuits add cost. Use standard ceiling fixtures, wall sconces, and basic outlet placement. Save decorative lighting for upgrades later. Budget electrical: $1,500–$2,500 vs. premium: $3,500–$5,000.
4. Extend Existing HVAC Instead of Installing New
Extending your existing furnace/AC to the basement costs $2,500–$3,500. A dedicated mini-split or new system costs $5,000–$8,000. Run with a good dehumidifier instead ($300–$500) for first year if budget is tight.
5. Use Standard Drywall and Paint
Basic white or neutral drywall with simple paint saves thousands versus custom textures, accent walls, or premium finishes. Paint it yourself if handy. A coat of paint transforms the space at minimal cost.
6. Choose Builder-Grade Fixtures
Standard outlet covers, light switches, and basic fixtures are inexpensive. Designer hardware and premium fixtures cost 3–5x more. Upgrade finishes as budget allows later.
7. DIY What You Can
Paint, simple trim work, and basic finishing can be DIY projects if you're comfortable. Skip complex work (framing, electrical rough-in, waterproofing)—that's where pros save you money long-term. DIY painting alone saves $1,000–$2,000.
8. Use Polished Concrete Instead of Flooring
Seal and polish the existing concrete slab saves the most money ($500–$1,500 for sealing). Finish with rugs or mats for comfort. Upgrade to LVP later. Some homeowners love the industrial look.
9. Skip Extra Features Initially
Built-in shelves, wet bars, entertainment systems, and custom details can wait. Create functional space first, then add special features as budget and desire align. Upgrades later are often better anyway—you know how you'll use the space.
10. Get Multiple Bids and Negotiate
Compare 3–5 contractor bids. Costs vary significantly. Sometimes contractors offer discounts for straightforward projects without complex additions. Honest communication about budget helps contractors offer cost-effective solutions.
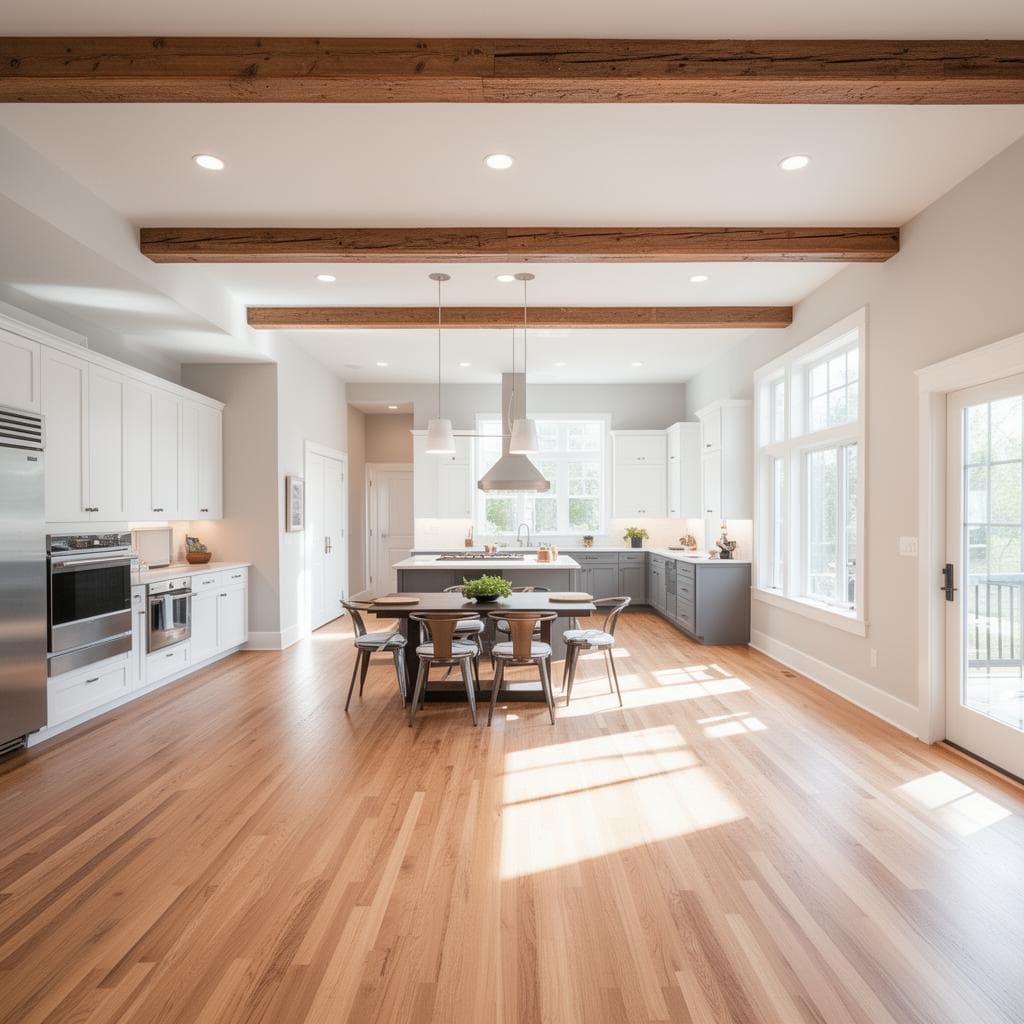
Budget-friendly basement with smart material choices
Budget-Friendly Basement Consultation
We'll help you finish your basement smartly. Maximize value while keeping costs reasonable. No budget shame—smart saving is smart investing.
Call (518) 308-6427 →The Phased Approach: Spread Costs Over Time
Instead of a single $25,000 project, spread the work across 2–3 years:
- Year 1 (Phase 1): $10,000–$15,000 — Framing, insulation, electrical, flooring, basic finishes
- Year 2 (Phase 2): $8,000–$12,000 — Upgrade lighting, add finishes, install HVAC extension
- Year 3 (Phase 3): $10,000–$15,000 — Add bathroom or kitchenette, premium finishes
Total: $28,000–$42,000 over 3 years instead of $25,000–$30,000 upfront. The advantage? You enjoy the finished space while you upgrade. You discover how you actually use the space. You spread payments. And you can adjust your budget as finances allow.
What You Should Never Skip
Saving money is good. Cutting corners on essentials leads to expensive problems:
- Moisture assessment: Professional evaluation ensures you address real issues, not expensive guesses.
- Waterproofing: Proper waterproofing prevents mold and structural damage costing $10,000–$50,000 to fix later.
- Permits: Code-compliant electrical, plumbing, and egress prevent liability and future code violations.
- Insulation: Proper insulation keeps the space livable and energy-efficient. Poor insulation creates cold, uncomfortable space.
- Electrical safety: Proper grounding, circuits, and GFCI protection prevent fire and electrocution hazards.
Related Articles
Frequently Asked Questions
Can you finish a basement cheaply?
Yes. Budget basement finishing costs $8,000–$15,000 for basic work. The key is prioritizing essentials (framing, electrical, flooring) and skipping expensive additions (bathrooms, kitchenettes) for now. Phased projects spread costs over time.
What basement finishing can I do myself?
Painting, simple trim, basic electrical outlet installation, and some flooring (LVP, stain) can be DIY projects. Framing, structural work, rough plumbing/electrical, waterproofing, and HVAC should be left to professionals. Know your limits.
What basement finishing is not negotiable?
Never skip moisture assessment, waterproofing, electrical safety, code compliance, or permits. These shortcuts lead to mold, structural damage, code violations, and future costly repairs. Professional work on these items saves money long-term.
What is the cheapest way to finish a basement?
Start with framing and drywall (essentials). Use budget flooring like LVP (cheaper than tile, waterproof). Paint over expensive finishes. Skip bathroom additions for now. Use basic lighting and fixtures. Phase in upgrades over time as budget allows.
Should I use a phased approach?
Absolutely. Phase 1: framing, insulation, electrical, flooring. Phase 2: upgraded finishes, lighting. Phase 3: bathroom or kitchenette. Spreading the project across 2–3 years reduces impact on your budget.
What materials save the most money?
LVP flooring ($2–$4/sq ft vs. tile at $6–$12/sq ft), basic ceramic tile for accents, builder-grade fixtures, standard drywall, and simple paint schemes all save significantly without obvious compromise.